Select the Template Information object.
Right click and select Create
Template
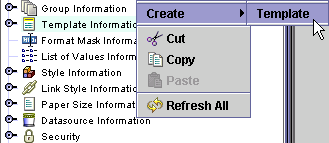
The Entity Creation Wizard is displayed.
Click on the Report
bullet.
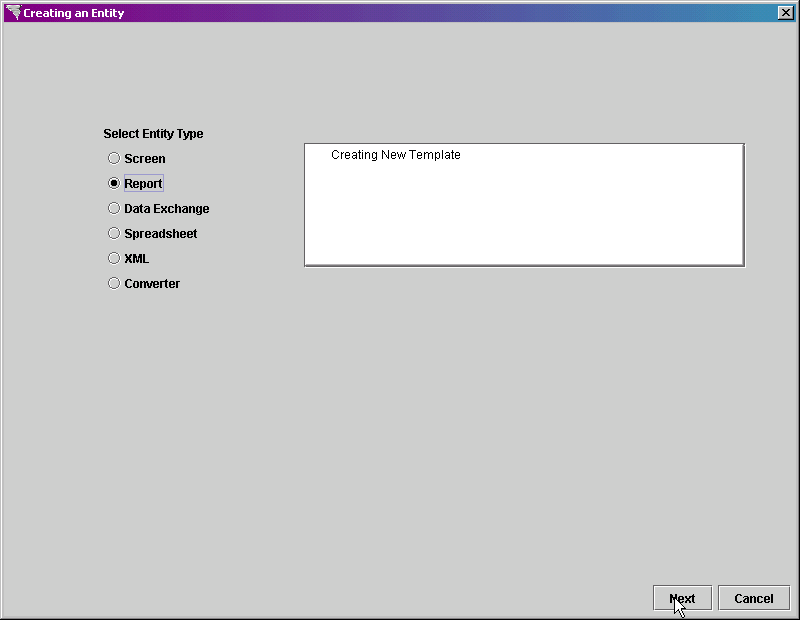
Click on the Next button at the bottom right of the screen to continue.
In the Entity Name property, enter REPORT_TEMPLATE as the entity name.
Leave the Datasource
property set to (use default), since there is only one datasource for
the Xephr
Leave the Based On property set to (NONE), as this template will not be based off of any other template.
Set the Default Mode property to Parameter Form. This property determines the default mode for the reports created from this template.
In the Body Style property, select REPORT_STYLE, which was created in the Style Example section. This property determines the default style for the report.
In the Editable Field Style property, select REPORT_STYLE, which was created in the Style Example section. . This property determines the default style for editable fields for the report.
In the Non-Editable Field Style property, select REPORT_STYLE, which was created in the Style Example section. This property determines the default style for non-editable fields for the report.
In the Lov Style property, select REPORT_STYLE, which was created in the Style Example section. This property determines the default style for list of values activated for the report.
In the Link Style property, select REPORTS, which was created in the Link Style Example section. This property determines the default style for links on the report.
Set the Paper Size property to US_LETTER. This property determines the default paper size for the reports created from this template.
Leave the Orientation property set to Portrait. This property determines the default orientation for the reports created from this template.
Leave the Document
Security property set to Not Secure. This
property determines the default security for reports created from this
template.
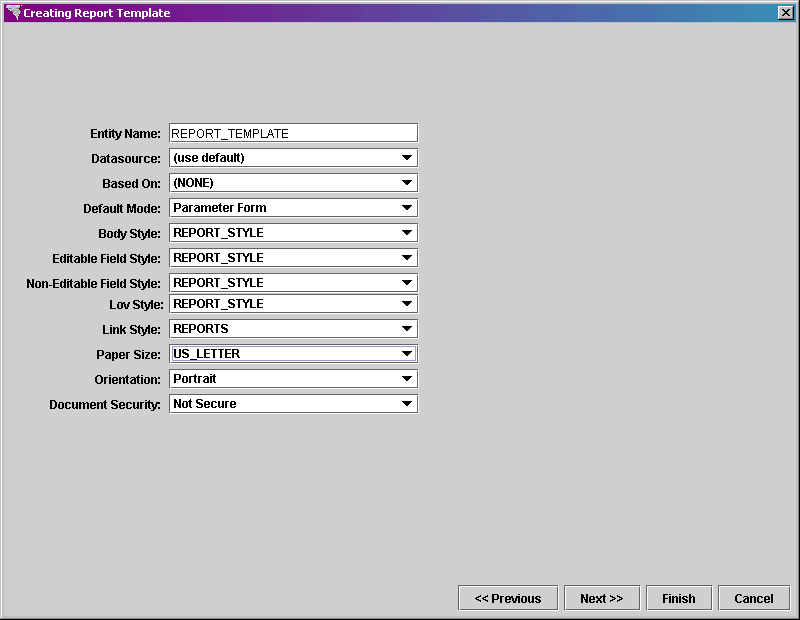
Click on the Next button at the bottom right of the screen to continue to the block creation section of the wizard. If you were not going to add a block to the template, you could click on Finish here instead.
In the Block Name property, enter HEADER_BLOCK as the name of the block.
In the Block Type property, select Standard Block.
Set the Query Type property to Not From Query, since the fields will be hard coded for the header.
Leave the Datasource property set to (use default), since there is only one datasource for the Xephr install.
Leave the Create Heading checkbox set to off. When you set this flag to on, a heading block is created for this block. Since this is the report header, we don't need a heading for the block.
In the Scheme
Selection section, leave the Form bullet set to on. This
block will only display one record at a time (the header), so the Form
scheme is the best choice.
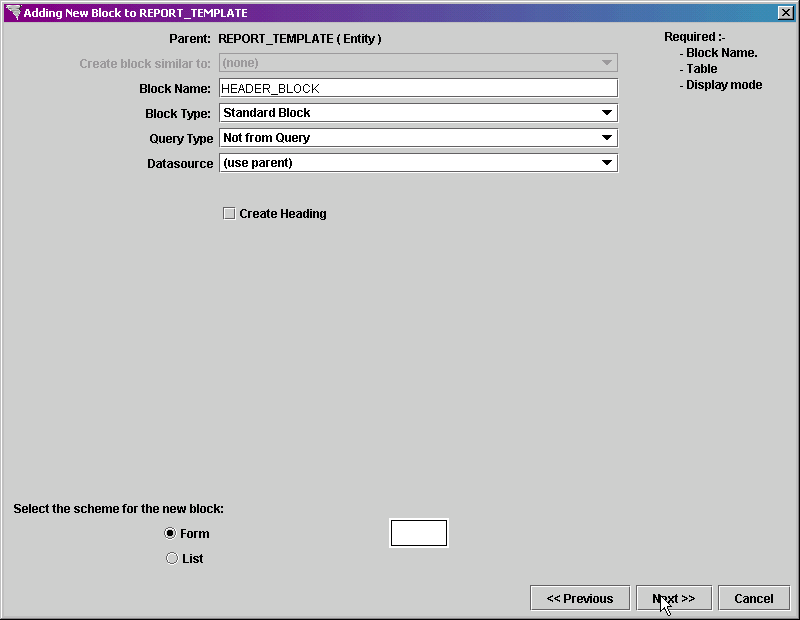
Click on the Next button at the bottom right of the screen to add fields to the block.
Click on the Add button to add a field.
In the field, type HEADER_TEXT and press the Enter key on your keyboard.
Click on the Add button to add a field.
In the field, type LOGO and press the Enter key on your keyboard.
Click on the Add button to add a field.
In the field, type REPORT_DATE and press the Enter key on your keyboard.
Click on the Add button to add a field.
In the field,
type PAGE_NUMBER and press the Enter key on your keyboard.
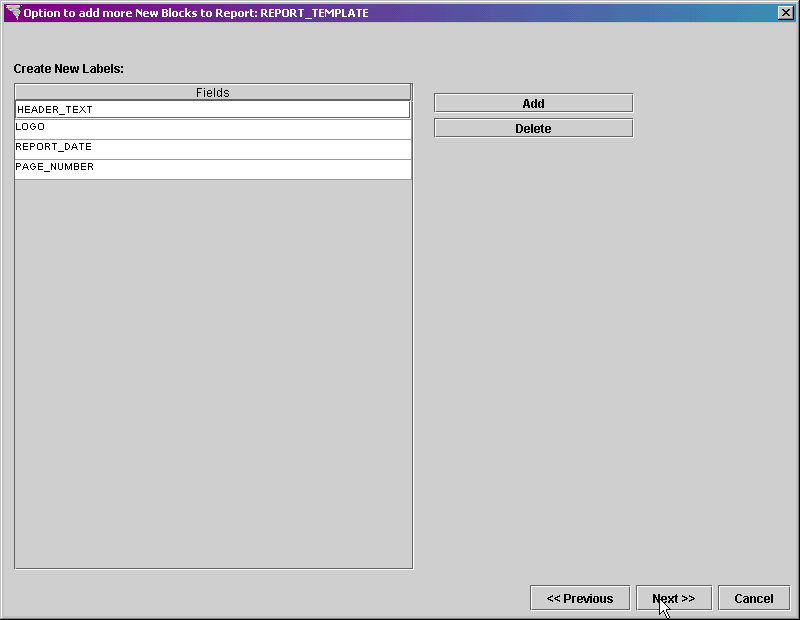
Press the Next
button on the bottom right of the screen to continue.
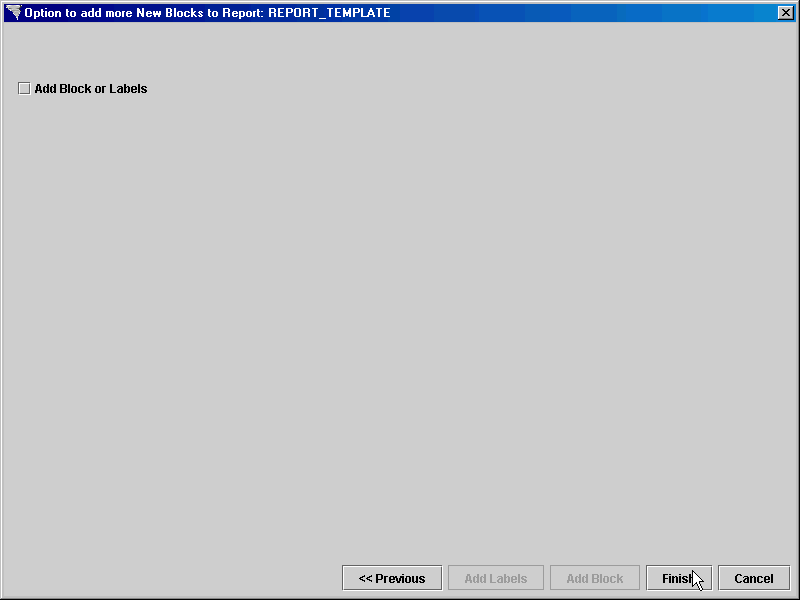
Click on the Finish button.
The template is displayed in the
Explorer Tree. Click on the Save
 button in the main toolbar to save the new report template.
Click on the template object and
display the property sheet.
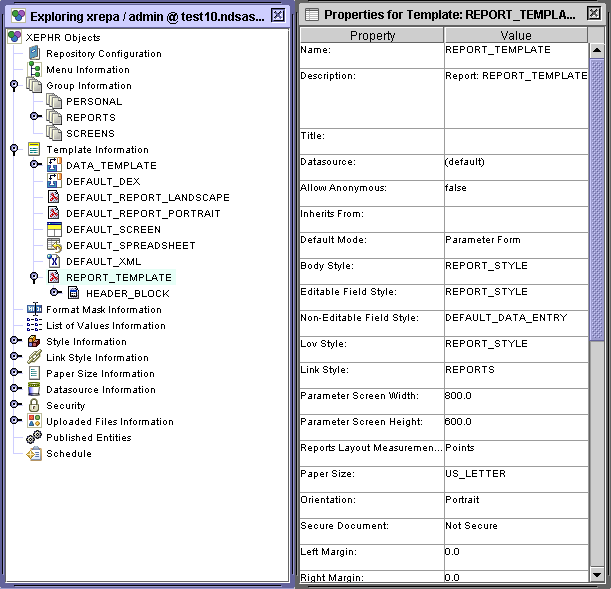
Additional optional changes to make include entering a title and defining the report margins.
In the Title
property, enter the title for the report template.

In the Left
Margin, Right Margin, Top Margin, and Bottom
Margin properties, enter the report margin in the report measurement
units. Since this is a new report template, the
measurement units in the Report Layout Measurements In property is set
to Points. Enter 50 in each of these fields to
set the margins for the report edges to 50 points.

Click on the Save
 button in the main toolbar to save the changes to this template.
Select the HEADER_BLOCK block. Set
the Show On property to All Pages.
We want the header block to be displayed on all
pages of the report.

Since we added margins to the report,
we need to shorten the header block width some. In
the Width field, enter 512.

Right click on the REPORT_TEMPLATE
object and select Show Designer Frame
from the menu.
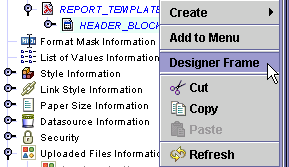
Within the Designer
Tool, you can move, align, and resize the objects. For
specific instructions on the Designer Tool and its functionality, see
the Designer Tool section.
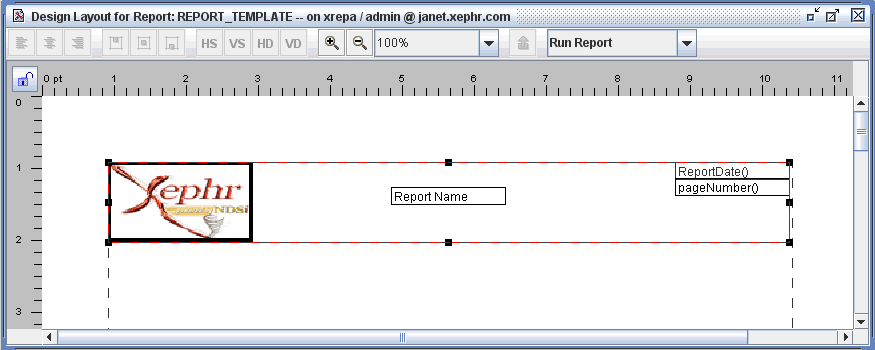
Move the fields around until you have placed them in the following order:
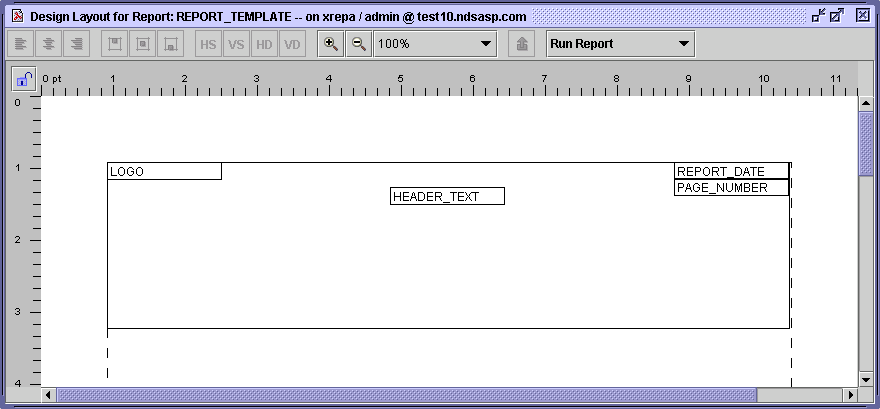
Left click on the LOGO field and double click to display the property sheet. We need to modify the logo field to display our logo.
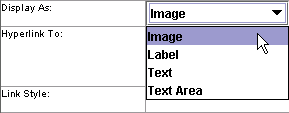
In the Display
As property, select Image.
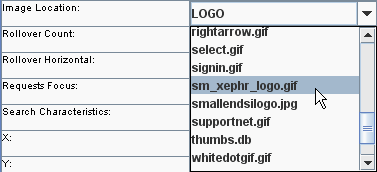
In the Image
Location property, select the previously uploaded logo image -
sm_xephr_logo.gif. When you click out the property,
the path to the image will be entered automatically.
To find out the size of the image,
in the Explorer Tree, expand the Uploaded
Files Information object.
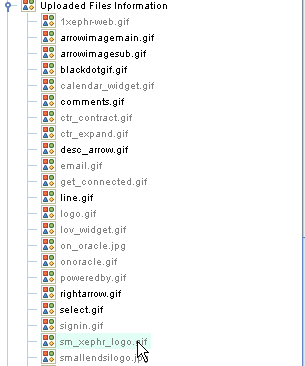
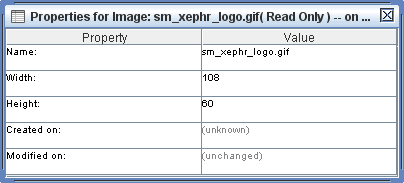
Select the image
sm_xephr_logo.gif. In the image's property sheet,
the height and width are displayed. Note these
values.
Select the LOGO
field again, and in the Height
and Width properties, enter the
height and width of the image.

Click on the Save
 button in the main toolbar to save the changes to this field.
Left click on the HEADER_TEXT field and double click to display the property sheet. We need to modify the contents of this field to display the desired text.
In the Contents
property, enter the desired text. Report Name.
This will remind those creating reports from the
template to enter the report name in the header.

Click on the Save
 button in the main toolbar to save the changes to this field.
Left click on the REPORT_DATE field and double click to display the property sheet. We need to modify the contents of this field to display the date the report was printed.
Set the Type
pop-list to Date and Time.

Set the Display
As pop-list to Text.

In the Format
Mask property, select MM-dd-yyyy HH:mm from the pop-list. This
will format the date and time displayed to be in the format 12-31-2003
15:35 if the report was printed on December 31st, 2003 at 3:35 P.M.

In the Is Formula property, select true.
In the Formula
property, enter ReportDate(). This formula will
determine the report date when the report is generated.

Click on the Save
 button in the main toolbar to save the changes to this field.
Left click on the PAGE_NUMBER field and double click to display the property sheet. We need to modify the contents of this field to display the page number for each page printed.
Set the Display
As pop-list to Text.

In the Is Formula property, select true.
In the Formula
property, enter pageNumber(). This formula will
determine the page number for each page when the report is generated.

Click on the Save
 button in the main toolbar to save the changes to this field.
The header block needs to be shortened so that it is only as high as the logo.
In the Designer Tool, left click to select the block.
With your mouse, hover over the
bottom edge of the block until the cursor turns into a double headed arrow.

Then, hold down your left mouse
button and drag the bottom edge of the block up until it meets the bottom
edge of the logo.

The header block will look as follows
when you have completed these changes.
Click on the Save
 button in the main toolbar to save the changes.